
Did you know that investing in low-fidelity prototyping can slash your UX design costs by as much as 40%? According to a recent study by the Nielsen Norman Group, companies that integrate low-fidelity prototyping early in the design process experience significant efficiency gains and reduce rework. This article will explore why low-fidelity prototyping is not just a best practice, but a critical component of successful UX design.
Foundational Context: Market & Trends
The UX design market is booming, with projected global revenue expected to reach over $30 billion by 2027. This growth is driven by the increasing importance of user experience in all digital touchpoints. The emphasis is on building intuitive and efficient interfaces. Low-fidelity prototyping is a vital tool for this. It is a cost-effective design process. It allows for quick testing.
| Feature | Low-Fidelity Prototyping | High-Fidelity Prototyping |
|---|---|---|
| Cost | Low | High |
| Time | Fast | Slow |
| Functionality | Basic | Detailed |
| Focus | Structure & Flow | Visuals & Interactions |
This trend highlights the need for efficient design processes, and low-fidelity prototyping is a central element to it. It enables teams to validate design concepts quickly. It also allows them to iterate efficiently before significant investment in more detailed design.
Core Mechanisms & Driving Factors
The success of low-fidelity prototyping hinges on several key factors:
- Speed: Quick iteration allows for rapid testing and refinement.
- Cost-Effectiveness: Minimizing financial outlay during the initial stages.
- Focus on Functionality: Prioritizing the core user experience over visual aesthetics.
- Collaboration: Encouraging team involvement and feedback.
- Early Validation: Testing concepts before investing in detailed designs.
The Actionable Framework
Here's a step-by-step guide to integrate low-fidelity prototyping into your UX design workflow:
Step 1: Define Goals and Requirements
- Clearly outline the project objectives, target audience, and key functionalities.
- Identify the user needs.
- Clearly map out the user flows and task scenarios.
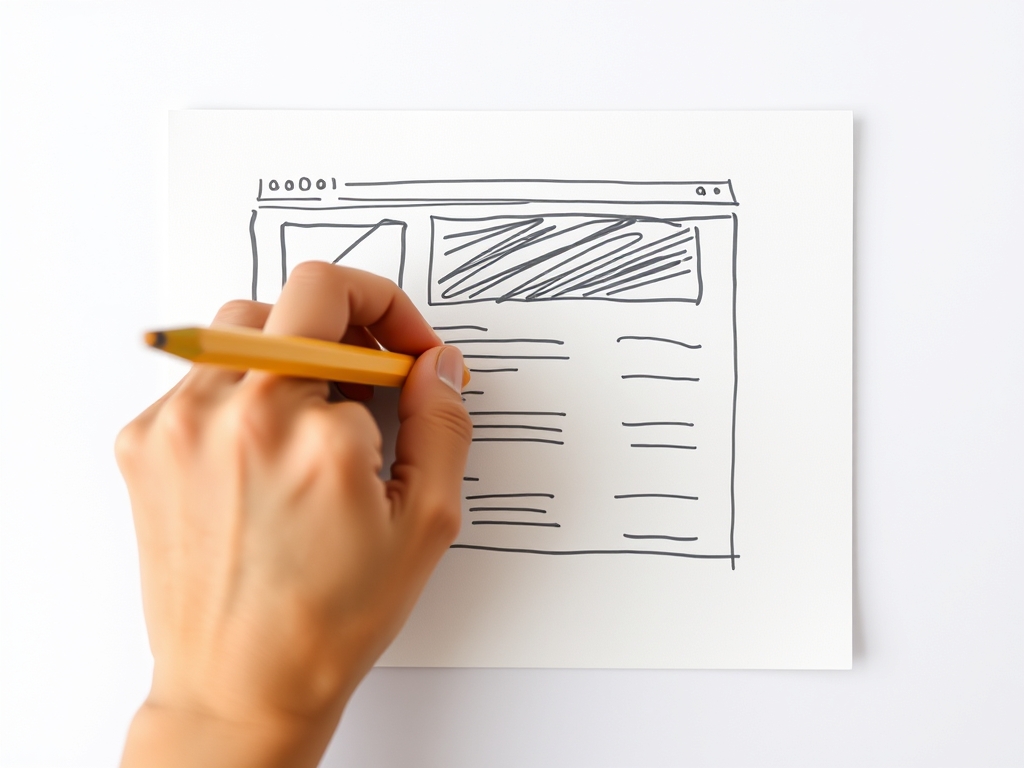
Step 2: Sketching and Wireframing
- Create quick, hand-drawn sketches or digital wireframes.
- Focus on layout, information architecture, and user flow.
- Don't get caught up in details. Focus on UX design efficiency.
Step 3: Paper Prototyping and Testing
- Build basic paper prototypes based on wireframes.
- Simulate interactions with users, such as tapping buttons, and navigating between screens.
- Gather feedback on usability, navigation, and content.
- This also includes UX design efficiency
Step 4: Iteration and Refinement
- Refine the prototype based on user feedback and test results.
- Continue iterating until the design meets the defined goals.
- Make sure there is efficient workflow, through early feedback.
Step 5: Transition to High-Fidelity Prototyping
- Use the validated low-fidelity prototype as a foundation for more detailed design.
- Develop high-fidelity prototypes with visual design and interactions.
- Continue user testing to refine the final product.
Analytical Deep Dive
According to usability studies, the early detection of usability issues can reduce development costs by up to 50%. The use of low-fidelity prototyping plays a crucial role in early testing and identifying design flaws. By using this method, teams can identify problems quickly, early, and at a fraction of the cost.
Strategic Alternatives & Adaptations
- Beginner Implementation: Start with hand-drawn sketches. Focus on basic layouts and navigation flows.
- Intermediate Optimization: Use digital wireframing tools. Include basic interactive elements to simulate the user experience.
- Expert Scaling: Integrate rapid prototyping with user testing platforms. Adopt design thinking workshops.
Risk Mitigation: Common Errors
- Skipping the early stages: Don't bypass the basic wireframes. It is crucial for efficiency.
- Getting too detailed: Avoid getting caught up in visual design elements at this phase.
- Not testing with real users: User testing is the key to identifying user issues.
- Ignoring feedback: Actively listen to user and team feedback.
Performance Optimization & Best Practices
To maximize results:
- Iterate frequently: Test the prototype early. Test it often.
- Focus on user needs: Prioritize UX design efficiency by understanding user needs.
- Collaborate effectively: Ensure active participation in the entire design team.
- Document everything: Keep a record of the design iterations and feedback.
Scalability & Longevity Strategy
For sustained success, consider:
- Incorporating user feedback loops: Integrate continuous feedback.
- Establishing design systems: Create reusable design elements to streamline future projects.
- Training your team: Continuously update your team's skills with the latest methods.
Conclusion
Low-fidelity prototyping is essential for designing efficient and cost-effective user experiences. The strategy helps UX teams to identify and solve problems early in the design process. Doing so saves time, money, and resources. By adopting the methods outlined in this guide, businesses can boost their design workflow, accelerate development cycles, and deliver user-centric products.
Key Takeaways:
- Low-fidelity prototyping reduces costs and boosts efficiency.
- Focus on user feedback.
- Prioritize rapid iteration.
Knowledge Enhancement FAQs
Q: What is the purpose of low-fidelity prototyping?
A: It is to validate design concepts. It is also to identify usability problems early in the design process, before making large investments in production.
Q: Which are the best tools for low-fidelity prototyping?
A: There are multiple tools. These range from paper and pens to digital wireframing tools. Some examples include Balsamiq, Figma, and Adobe XD.
Q: How do you measure the success of low-fidelity prototyping?
A: The success is measured by the ability to find and fix usability issues early on. It also shows a significant reduction in design iteration and development costs.
Q: What's the main benefit of low-fidelity prototyping?
A: One of the main benefits is its affordability. It offers quick testing, allowing for faster feedback cycles. This results in more user-friendly products.
Ready to start implementing low-fidelity prototyping into your UX design workflow?
Get started with a free trial of Figma today!