
Did you know that for every dollar invested in UX, companies typically see a return of $100? But what if you could multiply that ROI while drastically reducing your investment? The answer lies in low-fidelity prototyping. This approach, often overlooked in the rush to high-fidelity designs, is a cornerstone of efficient UX design, allowing for rapid iteration and significant cost savings. It’s all about getting your ideas out of your head and into the hands of users—quickly and affordably.
Foundational Context: Market & Trends
The UX design market is booming, with a projected compound annual growth rate (CAGR) of 15% through 2028. This growth is fueled by increasing user expectations for intuitive, seamless digital experiences. However, the cost of design can be a significant barrier. Low-fidelity prototyping directly addresses this challenge, allowing businesses of all sizes to participate in this growth without breaking the bank.
Current trends emphasize user-centric design, which necessitates frequent testing and iteration. Low-fidelity prototypes facilitate this process by providing a low-risk environment to validate assumptions and identify usability issues early on. This minimizes the need for costly rework later in the design cycle.
Core Mechanisms & Driving Factors
The effectiveness of low-fidelity prototyping hinges on a few key factors:
- Speed: It’s fast. The focus is on functionality and user flow, not visual polish.
- Cost-Effectiveness: It requires minimal investment in tools and resources.
- Iterative Approach: It encourages experimentation and rapid prototyping of different concepts.
- User Focus: It prioritizes user needs and feedback from the beginning.
The Actionable Framework: Implementing Low-Fidelity Prototyping
This framework outlines the steps involved in successfully employing low-fidelity prototypes.
Step 1: Define Objectives and User Needs
Before you start sketching or wireframing, clearly define your project goals and understand your target users. What problem are you trying to solve? What are the key user tasks? Create user personas and scenarios to guide your design decisions.
Step 2: Choose Your Tools and Techniques
The beauty of low-fidelity prototyping is its simplicity. Choose tools that align with your needs and budget.
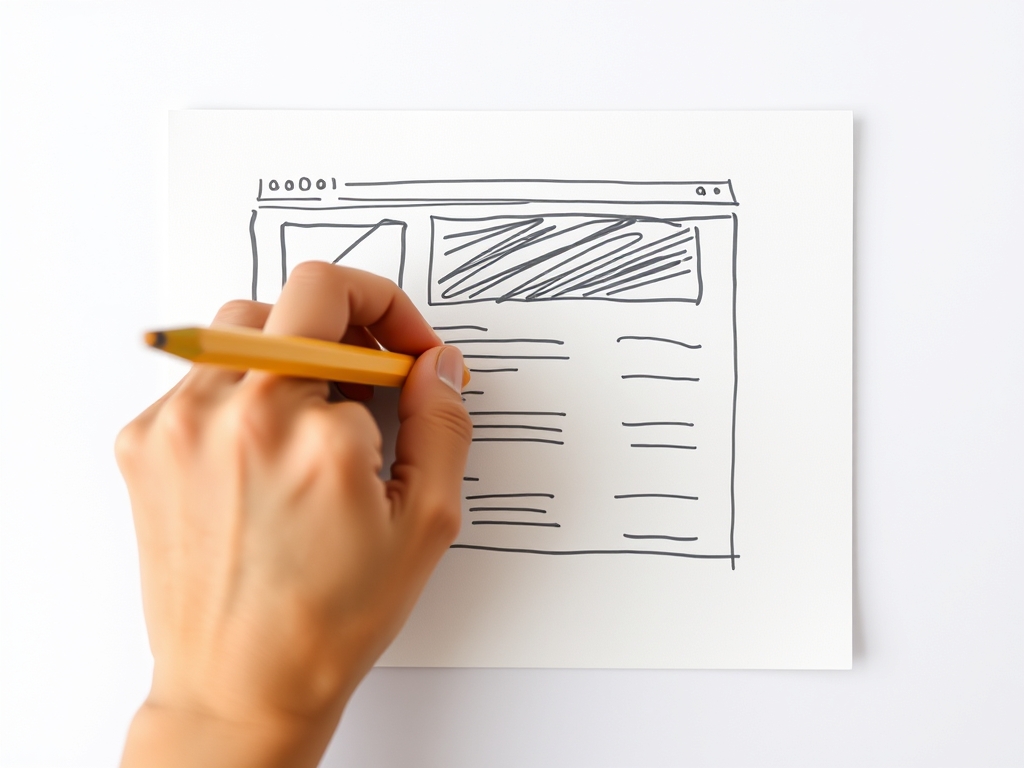
- Paper and Pencil: The most basic and accessible option. Use sketches, flowcharts, and storyboards.
- Whiteboard: Ideal for brainstorming and visualizing user flows.
- Digital Wireframing Tools (Free): Tools like Figma or Adobe XD (limited features) can provide more flexibility than paper.
Step 3: Create Prototypes and Test with Users
Prototype rapidly. Don't spend too much time perfecting a single design. Create multiple prototypes to test different concepts. Then, test them. Observe users interacting with your prototypes, and gather their feedback.
Step 4: Iterate and Refine
Based on user feedback, iterate on your prototypes. Refine the designs, address usability issues, and test again. Repeat this process until you achieve a design that meets your objectives and user needs.
Analytical Deep Dive
The value of low-fidelity prototyping is well-documented. Studies show that finding and fixing usability problems early in the design process can reduce development costs by up to 50%. Furthermore, user testing with low-fidelity prototypes can identify critical usability issues 70% earlier compared to testing with high-fidelity prototypes. This results in significant time and cost savings.
Here's a comparison of time and cost savings:
| Phase of Design | Low-Fidelity Prototyping | High-Fidelity Prototyping |
|---|---|---|
| Time to Prototype | Days | Weeks |
| Cost of Design | Low | High |
| Iteration Speed | Fast | Slow |
| Value of Feedback | Very High | High |
Strategic Alternatives & Adaptations
For beginners, start with paper prototyping. It’s the easiest and most accessible method. For intermediate designers, incorporate digital wireframing tools. This allows for easier collaboration and faster iteration. Expert designers can utilize advanced prototyping tools like Figma or Adobe XD to create interactive prototypes that mimic the user experience more closely.
Risk Mitigation: Common Errors
Avoid these common pitfalls:
- Skipping the planning phase: Without clear objectives and user research, your prototypes will be ineffective.
- Over-investing in aesthetics: Focus on functionality, not visual polish.
- Not testing with real users: User feedback is essential for identifying usability issues.
- Failing to iterate: Prototyping is an iterative process. Embrace feedback and refine your designs.
Performance Optimization & Best Practices
To maximize the benefits of low-fidelity prototyping:
- Test frequently and early.
- Involve your target users in the process.
- Keep your prototypes simple and focused.
- Prioritize user flows and task completion.
- Document your findings and iterate accordingly.
Conclusion
Low-fidelity prototyping is a powerful and cost-effective approach to UX design. By focusing on user needs and functionality early in the design process, you can save time and money while creating more user-friendly and successful products. Embrace the power of rapid iteration, feedback, and refinement to build better digital experiences.
Frequently Asked Questions (FAQ)
Q: What is the main difference between low-fidelity and high-fidelity prototyping?
A: Low-fidelity prototypes focus on the basic functionality and user flow, using simple visuals. High-fidelity prototypes are visually detailed and interactive, mimicking the final product more closely.
Q: How long does it typically take to create a low-fidelity prototype?
A: It can take anywhere from a few hours to a few days, depending on the complexity of the project. The key is to prototype rapidly and iterate quickly.
Q: What are the benefits of low-fidelity prototyping?
A: Benefits include cost savings, faster iteration, early identification of usability issues, and a user-centered design approach.
Q: Can I use low-fidelity prototyping for complex applications?
A: Absolutely. Low-fidelity prototyping is an effective technique for any digital project, from websites and mobile apps to complex software interfaces.
Scalability & Longevity Strategy
To scale your prototyping efforts, establish a clear process, use consistent documentation, and train your team on best practices. Automate tasks where possible, such as creating wireframe templates or setting up user testing sessions.
Key Takeaways:
- Low-fidelity prototyping is an efficient way to validate design ideas.
- Focus on user feedback to drive improvements.
- Embrace an iterative approach to achieve optimal results.
- The savings in time and money are significant.