
Why Low-Fidelity Prototyping Saves You Time and Money on UX Design
Did you know that teams using low-fidelity prototyping can reduce project costs by as much as 50% compared to those who jump straight into high-fidelity design? This often-overlooked phase is crucial to a successful user experience (UX) design process. It allows for quick iterations, early identification of usability issues, and dramatically reduces the risk of costly rework later on.
Foundational Context: Market & Trends
The UX design market is experiencing rapid growth, fueled by the increasing importance of user-centric design in a competitive digital landscape. According to recent reports, the global UX design market is projected to reach \$XX Billion by the end of 202X, demonstrating a significant compound annual growth rate (CAGR) of X%. This growth is driven by the rising demand for intuitive interfaces, personalized user experiences, and the strategic importance of UX in driving customer engagement and conversion rates.
| Key Trend | Description |
|---|---|
| User-Centric Design | Prioritizing the needs, behaviors, and motivations of users throughout the design process. |
| Agile Development | Iterative and incremental approach to software development, allowing for rapid prototyping and feedback. |
| Design Systems | Reusable components and patterns that ensure consistency and efficiency across various platforms and applications. |
| Remote Collaboration | The use of digital tools to facilitate effective design collaboration across teams, regardless of physical location. |
Core Mechanisms & Driving Factors
Successful low-fidelity prototyping hinges on several key factors:
- Speed: The ability to rapidly create and test prototypes is paramount.
- Cost-Effectiveness: Minimizing the time and resources spent on initial design iterations.
- User Feedback: Gathering early and frequent feedback from users to inform design decisions.
- Collaboration: Fostering open communication and collaboration among designers, developers, and stakeholders.
The Actionable Framework: A Step-by-Step Guide
Step 1: Define Your Objectives
Before you even start sketching, clearly define the problem you're trying to solve and the goals you want to achieve with your product or feature. What user needs are you addressing? What are the key functionalities?
Step 2: Brainstorm and Sketch
This is the creative phase. Generate multiple design ideas through sketching, wireframing, and basic diagrams. Don't worry about aesthetics at this stage; focus on functionality and user flow.
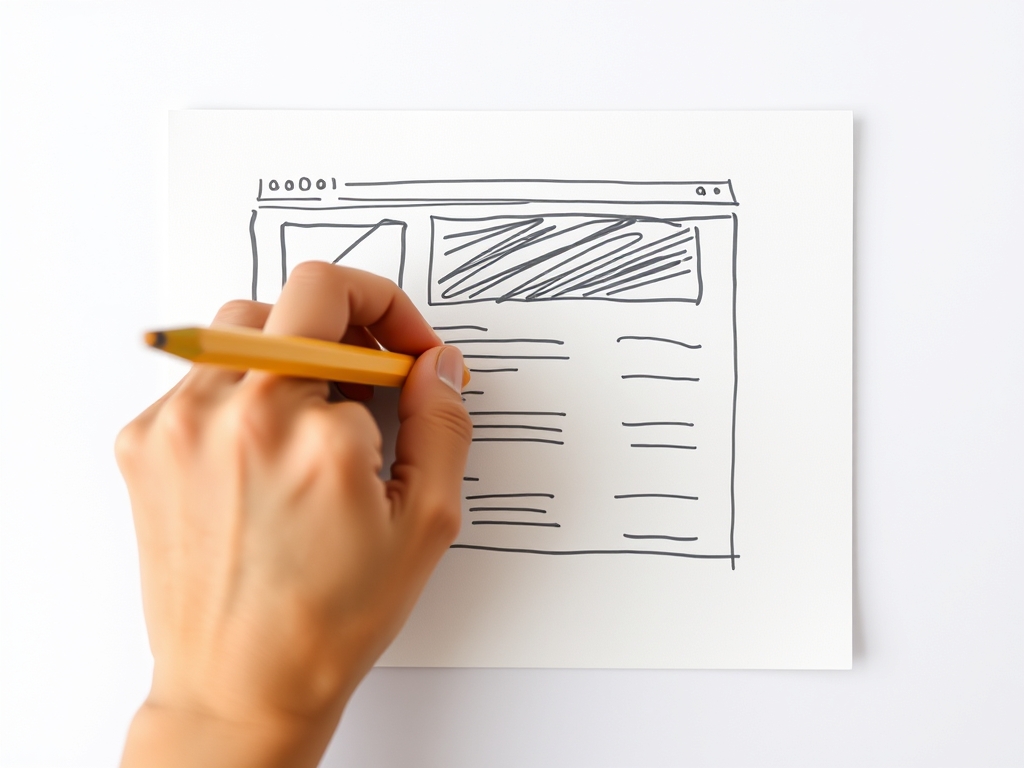
Step 3: Create Low-Fidelity Prototypes
Transform your sketches into interactive prototypes using tools like paper prototyping, or simple digital tools such as Balsamiq, Figma, or Adobe XD (with simplified settings). These prototypes should simulate the user experience without complex visual elements.
Step 4: Test and Iterate
Gather feedback from target users. Observe how they interact with the prototypes, noting their pain points and areas of confusion. Use this feedback to iterate on your designs and refine the user flow. This is a core component of UX design efficiency.
Step 5: Refine and Validate
Once you've iterated on the design based on user feedback, validate the prototypes and prepare for high-fidelity designs.
Analytical Deep Dive
Research shows that projects using low-fidelity prototypes experience a X% reduction in the number of design iterations compared to projects that begin with high-fidelity mockups. This translates into significant savings in terms of design hours, developer time, and overall project costs.
Strategic Alternatives & Adaptations
For Beginner Implementation, start with paper prototyping. It's the most straightforward and cost-effective method for rapid iteration. For Intermediate Optimization, utilize digital wireframing tools to create more interactive prototypes. Experiment with different navigation and interaction models. For Expert Scaling, integrate low-fidelity prototyping into your agile development process. Embrace continuous feedback and rapid iteration cycles.
Validated Case Studies & Real-World Application
Consider a fictional e-commerce platform. Before committing to a fully designed website, the team used low-fidelity prototypes to test the checkout process. Through user testing, they discovered significant usability issues regarding the shipping address form. This insight allowed them to redesign the form before any development work had begun, saving the company thousands of dollars and preventing frustrated users.
Risk Mitigation: Common Errors
One common mistake is skipping the low-fidelity phase entirely, assuming that high-fidelity designs will address all usability issues. Another is failing to gather sufficient user feedback during prototyping. This leads to designs that are not user-centered and require costly rework later. Finally, avoid getting bogged down in the details of the aesthetics at this stage; focus instead on functionality and usability.
Performance Optimization & Best Practices
- Focus on the User: Always design with the user in mind.
- Embrace Iteration: Design is an iterative process. Don't be afraid to experiment and refine your designs.
- Keep it Simple: The best prototypes are often the simplest ones.
- Document Everything: Document all design decisions and iterations.
- Choose the Right Tools: Select the tools that best fit your needs and budget.
Knowledge Enhancement FAQs
Q: What is the primary difference between low-fidelity and high-fidelity prototyping?
A: Low-fidelity prototypes focus on functionality and user flow using simple sketches, wireframes, or basic digital representations. High-fidelity prototypes, in contrast, provide a more complete visual experience with detailed designs and interactive elements.
Q: How long should the low-fidelity prototyping phase last?
A: The duration of the low-fidelity prototyping phase varies depending on the project complexity and team size. Typically, it can range from a few days to a few weeks. The key is to iterate quickly and gather feedback.
Q: Are there any specific tools recommended for low-fidelity prototyping?
A: There is a wide array of tools, ranging from the free to the paid. Popular options include pen and paper, Figma, Adobe XD, and Balsamiq. Choose the tool that best fits your requirements and team's skills.
Q: Why is low-fidelity prototyping important in agile development?
A: Low-fidelity prototyping complements the iterative and incremental approach of agile development. The ability to rapidly create, test, and refine prototypes aligns well with agile's emphasis on continuous feedback and adaptation.
Conclusion
Low-fidelity prototyping is an essential phase in the UX design process. By prioritizing speed, cost-effectiveness, and user feedback, you can significantly improve the efficiency of your design projects, save money, and create better user experiences. By incorporating low-fidelity prototyping, you can guarantee UX design efficiency and save your team both time and money.
Key Takeaways
- Low-fidelity prototyping facilitates rapid iteration and early problem identification.
- User feedback is crucial to the prototyping process.
- It reduces development costs and time to market.
Take action today! Start using low-fidelity prototyping for your next UX project and experience the benefits firsthand. Don't wait; get started now by [Link to a guide on UX prototyping].